How to monitor Kubernetes costs with Lens IDE
Lens is the most powerful IDE for those who need to deal with Kubernetes clusters on a daily basis. It allows you to manage your cluster and view important health metrics. A Kubecost and Lens integration allows you to also visualize Kubernetes costs directly in the Lens UI. With Lens and Kubecost you can view costs and spend efficiency by namespace, pod, deployment and more!
For most teams, it’s really difficult to understand the cost of Kubernetes workloads, even in a somewhat static multi-tenant environment. When concepts like autoscaling are introduced, it becomes far more complex. This creates many challenges, including unintentional overspending, poor visibility for business planning, and missing costly bugs/mistakes. Despite the fact that over 32% of respondents to the 2021 FinOps survey collect and analyze cloud cost data using spreadsheets, those will only take you so far.
To help engineering teams, we published an early version of a new open source integration with Lens. It provides a direct view into Kubernetes costs so you can understand what is driving overall costs and how efficiently they are being spent. In this first release you can see cost trends for any workload aggregation, e.g. pod, deployment, statefulset, namespace. Future releases will be driven by the feedback we receive, so join Kubecost Slack community (link below!) and let us know what features you’d like to see.
Install Kubecost in your Kubernetes cluster using Lens IDE
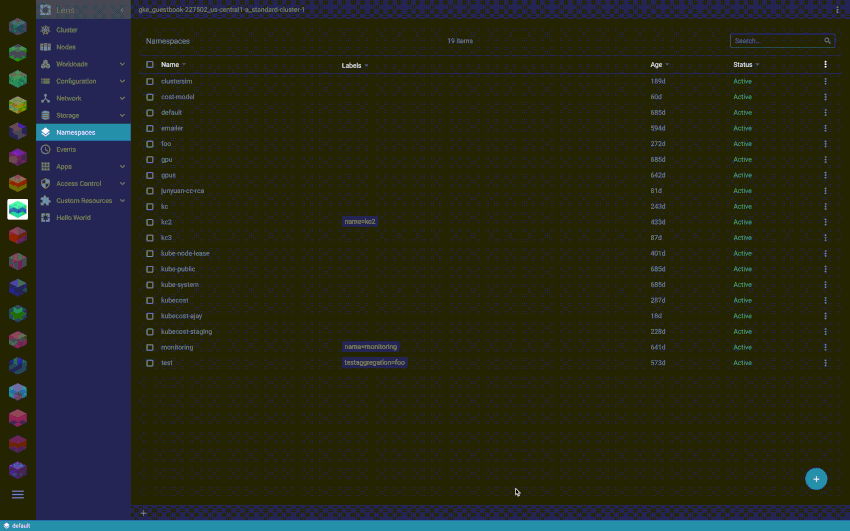
Get started by installing the Kubecost stack in your cluster. Open Lens and connect to your Kubernetes cluster. Go to the Apps directory and search for the cost-analyzer chart.

Create a namespace called “kubecost” and install Kubecost cost-analyzer in it.

Once Kubecost is installed, you can add the Kubecost extension:
- Download the latest tar.gz file release from GitHub. Alternatively, just copy the download URL of the release artifact.
- Open the Lens application and select Lens menu, and then click Extensions item, or press Shift + Command + E to open the Manage Lens Extensions page.
- Specify the path (.tar, .tgz) or download URL to the extension package and click Install.

View Kubernetes cost metrics
To see the full Kubecost UI or to view cost metrics from the Lens terminal, setup a port forward to your Kubernetes cluster with kubectl:
kubectl port-forward --namespace kubecost deployment/kubecost-cost-analyzer 9090
This will add a new panel in Lens UI showing costs of resources per namespace.

These cost metrics account for all active workloads in the namespace. By default, pricing is pulled from public cloud providers, with AWS, Azure, and GCP being supported today. You can add a Kubecost cloud integration to reflect prices from Spot nodes, enterprise discounts, reserved instances, and more. Custom pricing sheets are supported for for on-prem clusters.
You can also point your browser to http://localhost:9090 to view more cost metrics.

This installs the community version of Kubecost which is good for monitoring one cluster with a default metric retention of 15 days. Other features are available in the Business and Enterprise versions of the product. Join Kubecost Slack community or contact us if you want more!